Kids Sand Art 101
We've been getting a lot of questions here at SilverStarCrafts HQ about doing sand art with kids so we've put together a little step by step for anyone wanting more information about how sand art works and what an easy and fun activity it is for rainy days, birthday parties, school fetes etc.
Firstly select your sand art picture cards, we stock an ever changing range of over 150 designs, need ocean designs for your little pirate? Butterflies and princesses for the birthday girl? Whatever you need, we've got you covered! Click to Browse designs
- Set up your area, sand art with kids can be messy so it's the perfect outside activity, or if you decided to complete your sand art inside we recommend laying down a or a picnic blanket to minimise clean up afterwards.
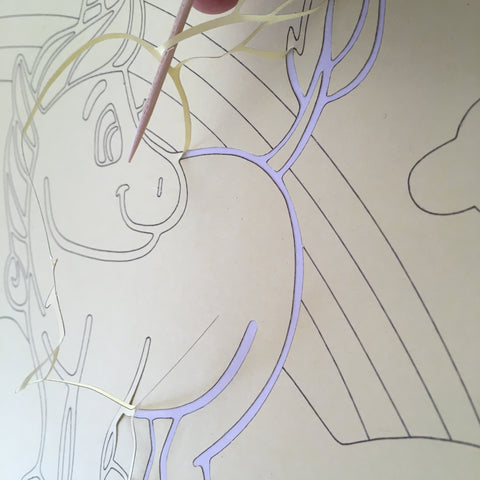
- Once your ready to start begin by using a toothpick to remove one of the pre cut sticker areas from the sand art card to reveal the sticky side underneath, we recommend starting with the outline of the design. Usually by demonstrating this step for the kids means that they can go on and complete the remainder of the card on their own.
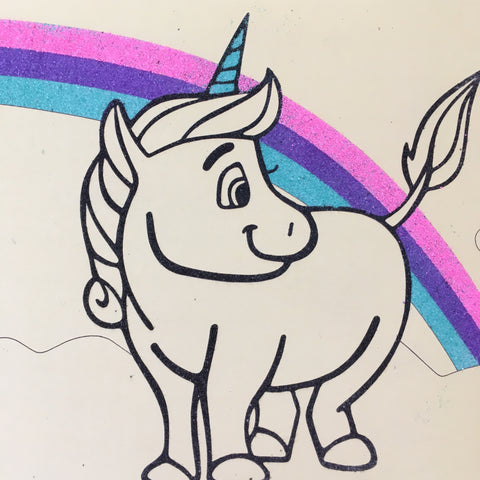
- Using a spoon sprinkle coloured sand over the card and gently rub the sand into the exposed adhesive
- Once all the adhesive is covered with sand, tap the card over a tray or bowl to collect the excess sand and you'll be left with the first section of your card complete
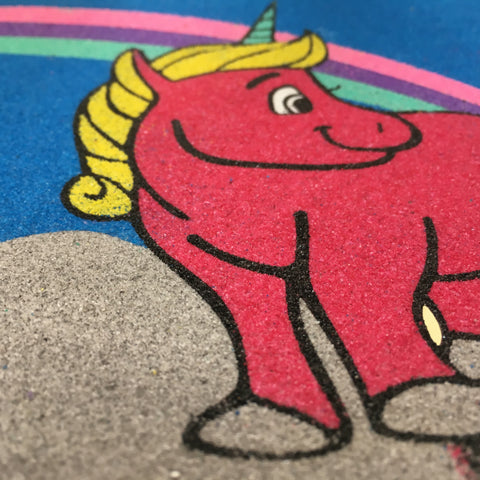
- Continue on selecting different areas and colours of sand to complete your sand art picture card
- Once the card is complete place it in the display slip provided, seal and choose where to display your new work of art, we recommend the fridge.... or the pool room ;)


