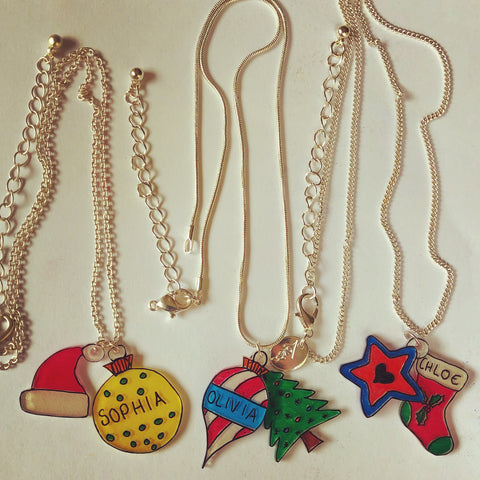
Learn how we made these adorable little Shrinky Dinks Charms for Christmas gifts, kids love the activity of choosing their own designs, colouring in and most of all the magic of watching them shrink!
Step 1
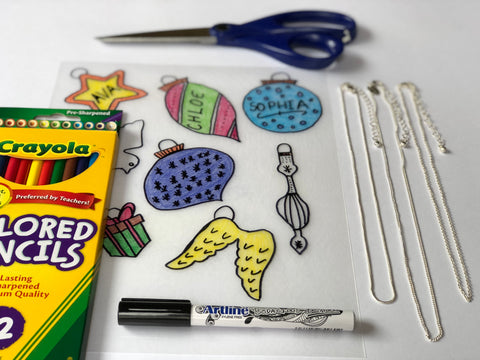
Gather your supplies, if you are going to trace your designs search the internet for royalty free designs and print them off for tracing, we hand drew our own pictures for this project. In addition to your designs you will need:
- Ruff and Ready Shrinky Dinks - available for purchase here
- Coloured pencils
- Black permanent marker for drawing the outline ( we recommend a thin tip)
- Scissors
- Hole punch
- Necklace chains and clasps for hanging charms (we got ours from Lovisa)
Step 2
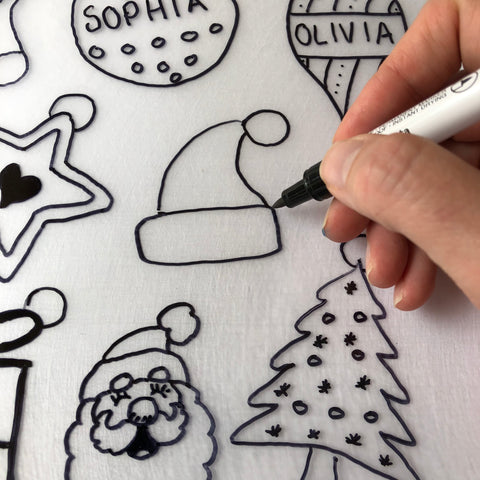
Use the black marker to trace or draw your designs on the shiny side of the the shrinky dink paper. You can draw on either side but we really like the slight 3D effect you get from tracing on one side and drawing on the other. With a bit of tetris like precision you can rotate the sheet of plastic to ensure that you use all the available space on the sheet and get the maximum amount of designs per sheet.
You might like to draw the outlines for your kids to then colour in or let your kids create their own designs.
Step 3
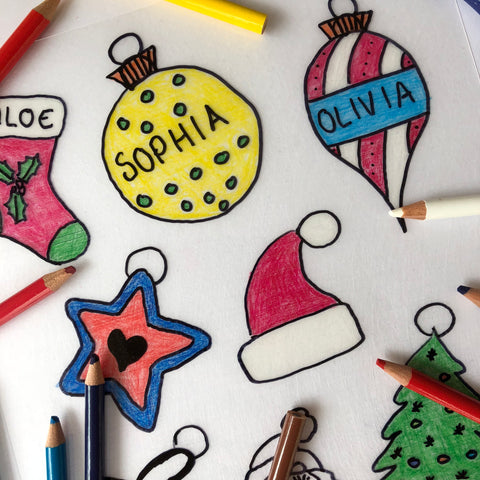
Flip the sheet over to the rough side and get colouring, let the kids go crazy using as much colour as possible, the brighter the better!
Step 4
Once the colouring is done use scissors to cut out each design, use the hole punch to punch each design near the top where you want it to hang on the necklace.
Step 5
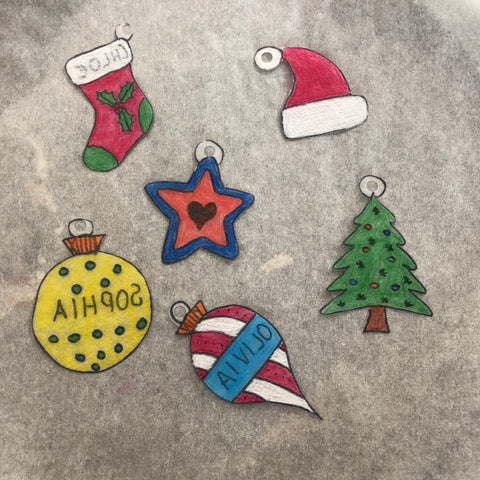
Pre heat the oven to 160 degrees celsius and place the cut out designs rough side up on a tray covered with baking paper. Place the Shrinkys in the oven and gather around to watch the magic unfold! In 1-3 mins your designs will begin to shrink, some may appear to fold in on themselves but if you keep waiting they will generally flatten out at the end. If not, very carefully use a utensil to flatten it down immediately after removing from the oven as they remain soft and pilable for a minute or so. Allow to cool for at least 5 minutes before touching
Step 6
Once the designs are cool to the touch assemble the necklaces, using pliers if necessary to close the clasp on each charm securing it to the necklace.
Step 7
Put in a cute box and wrap ready for placing under the Christmas Tree
Happy Christmas Everyone! 😃


